Gradient layer improvements
Because we try to ship quickly and iteratively, we have a limited amount of time to expend on projects. This often means making difficult decisions about which projects to prioritize, and sometimes neglecting to build features we want to create or improve. As we added layer support to our updated gradient component, we had to forgo implementing drag and drop in order to prioritize other work. With a few options to enable the movement of layers, we decided to add a single "add gradient" button.

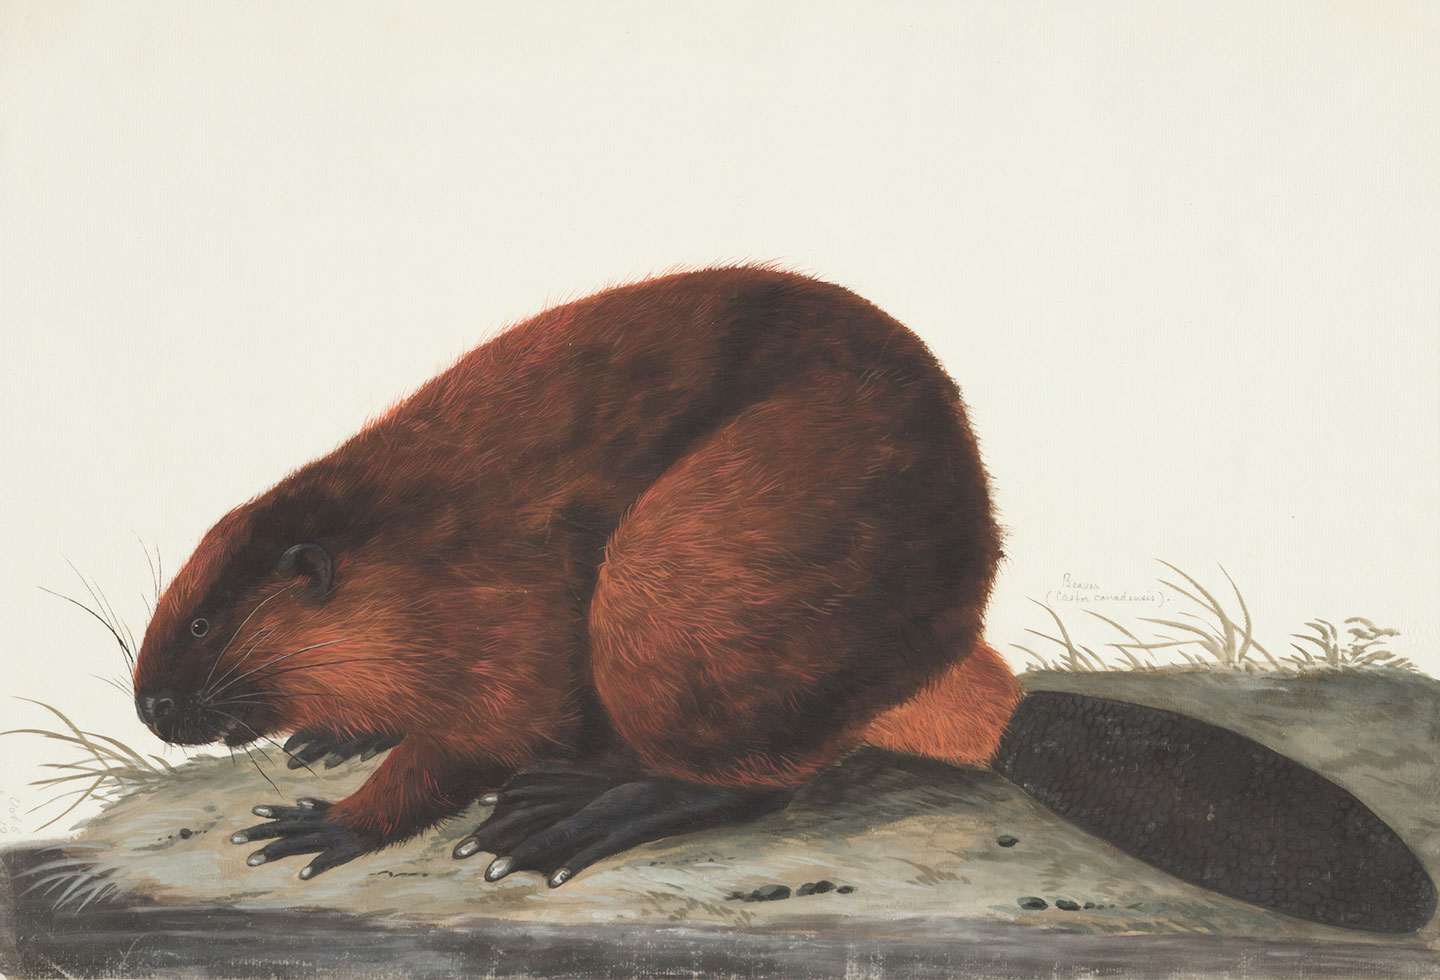
When you start a painting, it's customary to begin on the background, adding more and more layers to build out the details in the foreground. In the above image, it would be hard to paint the whiskers before the background. The foreground details would likely be lost as the background elements overtook previous layers.
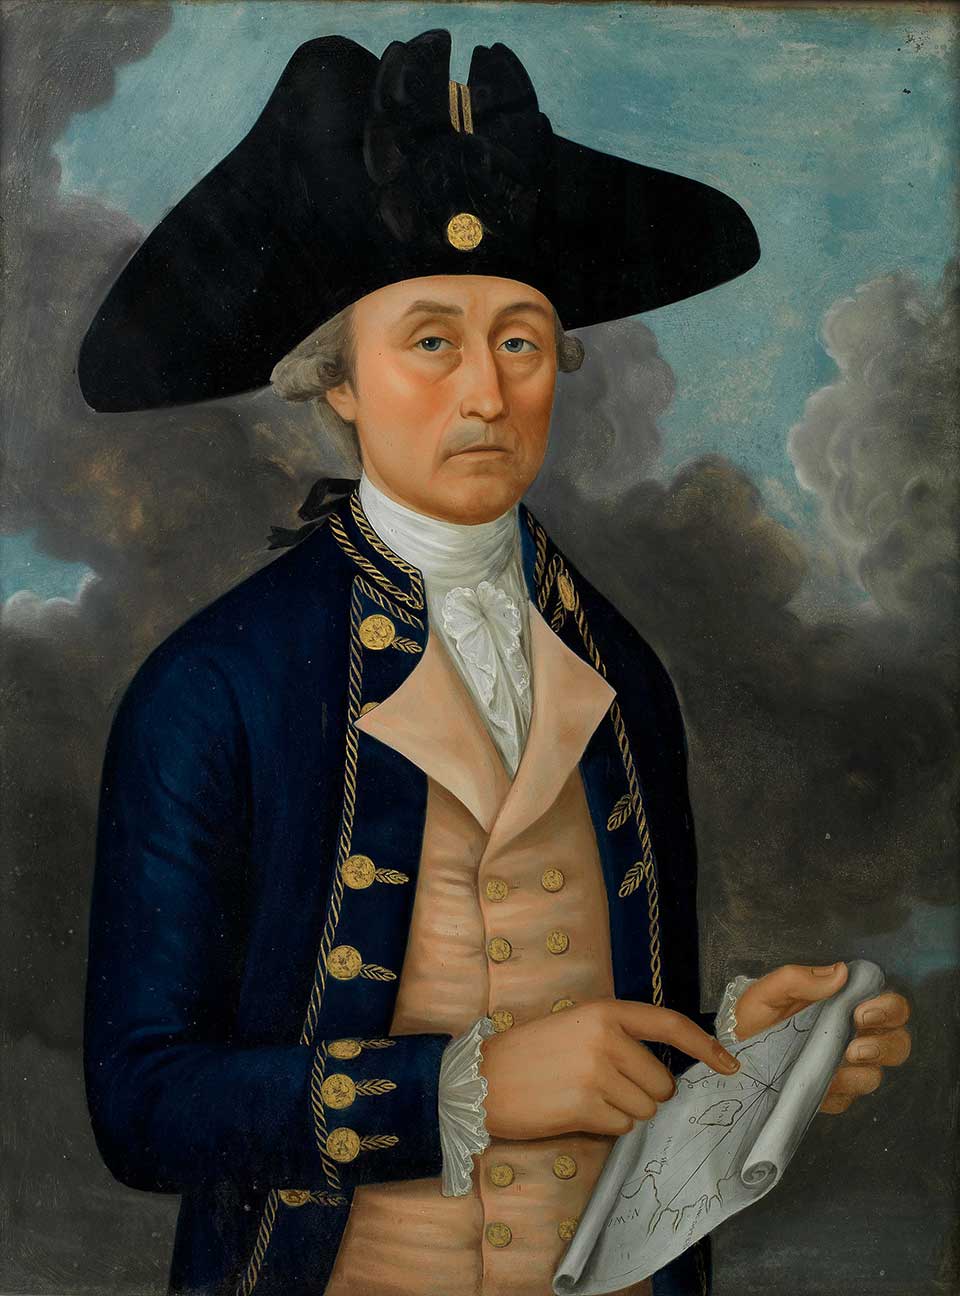
In reverse glass painting, this rule is turned on its head. Starting with the fine details first, the artist works backwards, adding the background layers last. We discovered quickly in testing that our initial implementation led to a workflow similar to reverse glass painting. And while this process is capable of producing amazing results, it's also quite challenging.

Similarly to the painting process, we found that adding a new layer to the bottom of the stack could disrupt creative flow. It didn’t seem to fit the natural mental model of how people construct gradients. So, we added new gradient layers to the top of the stack by default.
While we aren't releasing drag and drop yet, we knew we needed to make this change. In hindsight, it seems painfully obvious. And, as a bonus, this addition comes with another small improvement. If the top layer doesn't have any transparency, all the layers below are hidden. If you're adding additional layers, you likely want to blend colors together - not completely obscure them. So we've automatically bumped the alpha down to 40% for the second color in the top gradient. We hope this makes your gradient creation workflow a little smoother.